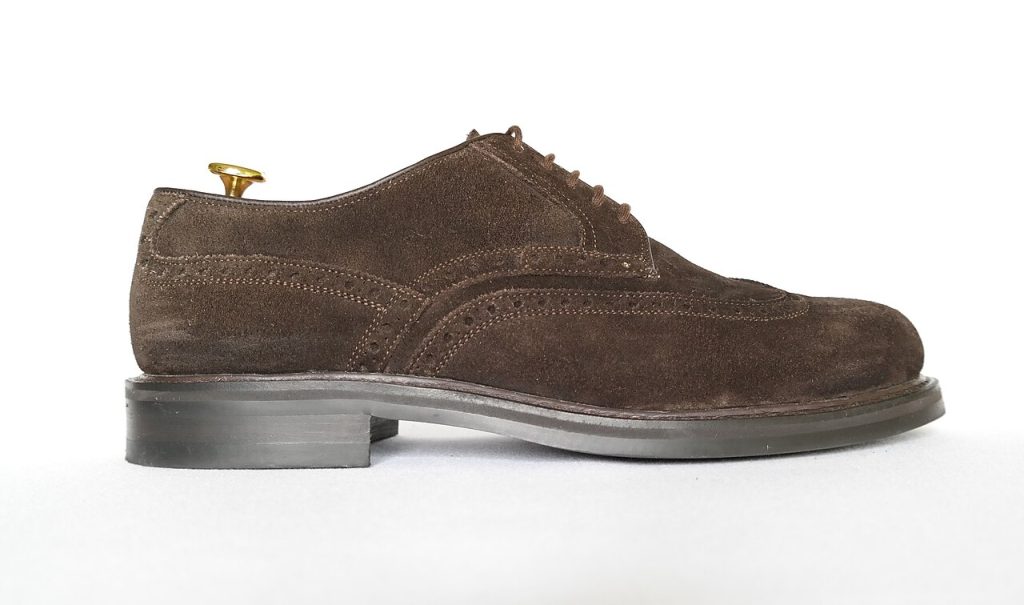
White salt marks are a normal part of a Canadian winter, but they do not have to be permanent. Here is how to lift them from leather, suede and synthetic boots without damaging the finish.
Quick take
- Salt stains are mineral deposits left behind when salty slush dries, and they are easier to remove the sooner you treat them.
- A half-and-half mix of white vinegar and cold water lifts salt from smooth leather when applied with a soft, clean cloth.
- Suede needs a lighter touch: brush first, dampen rather than soak, and skip the vinegar if the material is prone to discolouration.
- Never dry salt-treated boots near heaters, radiators or with a hair dryer, because heat can crack, shrink or warp the material.
- Condition and protect boots after cleaning, and repeat the protection through the season to keep new stains from setting.
Every winter, the same white chalky marks show up on boots across the country, left behind by the salt and de-icing chemicals that keep sidewalks walkable. The good news is that salt stains are usually fixable at home with a few basic supplies and a little patience. The key is matching the method to the material, because what works on smooth leather can ruin suede.
Why Salt Stains Form and Why Speed Matters
A salt stain is a mineral deposit, not ordinary dirt. When salty slush soaks into footwear, the water carries dissolved salt into the material. Once that moisture dries off, the salt stays wherever the wetness travelled, which is what draws the pale grey or white tide line you see on the leather.
The damage goes deeper than appearance. Salt is alkaline, while leather is naturally acidic, and the salt crystals strip the natural oils that keep leather supple. Left untreated, salt can break down the fibres and lead to permanent cracking, which is why it is worth treating stains promptly rather than waiting until spring cleaning. Speed matters for another practical reason: the less time a stain has to sit, the easier it is to remove.
If your boots have already been through a few salty seasons and you are wondering whether they are worth saving, it often comes down to how the uppers look and feel once cleaned. A pair that cleans up well can keep earning its place in a rotation built around wardrobe essentials that work with everything.
What You Need Before You Start
Gather your supplies before touching the boots, so you are not hunting for items with wet shoes half-treated:
- White vinegar and cold water
- Liquid dish soap (for suede)
- Clean, white cloths, so dyes do not transfer to the footwear
- Cotton balls or a soft wash cloth
- A suede brush, or a clean toothbrush you no longer need
- Newspaper for stuffing boots
- Leather conditioner and a protective spray
Work in a well-lit spot, and set aside enough time to let the boots dry fully overnight.
Removing Salt Stains From Smooth Leather
- Before any liquid goes near the boot, buff away the surface salt with a cloth that is only just damp.
- Stir white vinegar and cold water together in equal amounts.
- Soak a fresh white cloth in the mixture (plain white, so dye cannot transfer) and wipe it across the marks, working gently rather than scrubbing.
- Repeat as needed until the salt residue is gone.
- Wipe the boots with a cloth dampened in plain water to remove the vinegar solution, then dry with a clean towel.
- Let the boots air dry completely, away from direct heat.
The most common mistake here is rushing the drying. Heat can cause leather to crack, so keep boots away from radiators, heaters and hair dryers, even when you are in a hurry to wear them again.
Handling Suede and Nubuck With Care
Suede and nubuck need a lighter touch, because these napped leathers are delicate, absorbent and prone to staining. Start dry: remove surface grit first with a suede brush, or with a toothbrush that has seen better days, before any liquid goes on.
- Combine vinegar and water one to one in a small dish.
- Press a wash cloth or cotton ball into the liquid and buff the stains gently. The material should be damp enough to lift the salt, not soppy wet.
- Stuff the boots with newspaper so they hold their shape, and let them air dry. Never put them near a heater to speed things up, since heat can alter the shape of the shoe.
- Once completely dry, brush the suede again to bring back the nap.
Some sources advise against using vinegar on suede altogether because it can cause discolouration. If that worries you, stir a drop or two of dish soap into water instead, and always test either method on an unnoticeable area first. And a reminder that applies to all suede cleaning: never put suede in the washing machine, and avoid harsh household chemicals and shoe polish.
Cleaning Salt Off Synthetics and Waterproof Membranes
Synthetic uppers, including faux suede made from polyester, are generally tougher, more resistant to water and staining, and easier to maintain than the real thing. Wipe off loose salt with a damp cloth, then clean the stain with a small amount of mild dish soap in water, working gently so you do not disturb the finish or any waterproof coating. Rinse with a clean damp cloth and air dry. As with any material, test a hidden spot first, especially on boots with coated or sealed seams.
Conditioning and Protecting Boots After Treatment
Cleaning is only half the job, because both the vinegar treatment and the salt itself can dry out leather. Once the boots are completely dry, apply a leather conditioner, then follow with a leather protector or a spray made for suede and leather. Spray in a circular motion from about 15 to 20 cm away, without saturating the surface, let the boots dry for about 30 minutes, then apply a second coat.
Stay safe
Skipping conditioning is the step that turns a fixed stain into lasting damage. Salt strips oils from leather, and unprotected leather dries, stiffens and cracks faster.
Preventing Stains for the Rest of the Season
A little routine care beats a full rescue operation. Wipe boots down with a damp cloth when you come inside on slushy days, so salt never gets the chance to dry and set. Reapply protective spray every few months through the winter, or more often if the boots see daily salted sidewalks. Rotate pairs when you can, since a boot that dries fully between wears resists damage better than one worn two days running. If you are shopping for a pair that will shrug off winter better, our guide to what winter boot terms mean before you shop will help you read the labels: winter jacket terms covers the same logic for outerwear.
Pick up your vinegar, a soft cloth and a protector spray this week, and treat the next white mark the day you spot it.
Your style questions
Q: Can I use vinegar on suede boots?
A: You can on many kinds of suede, but some sources advise against it because vinegar can cause discolouration. Mixing a small amount of dish soap into water is a gentler alternative, and you should always test whichever method you choose on a hidden spot first.
Q: Why do my boots have white marks even where no slush touched them?
A: Salt can be carried through the material by moisture, including perspiration from your own feet, and left behind at the surface as it evaporates. This is why stains sometimes appear along the waterline or higher up the boot than the puddle reached.
Q: How long do salt-stained boots take to dry?
A: Air drying is the only safe method, and it can take overnight or longer depending on the material. Stuffing boots with newspaper helps them hold their shape as they dry, but keep them away from heaters and radiators.
Q: What should I do if the stain will not come out?
A: Repeat the cleaning process rather than scrubbing harder, since aggressive rubbing can damage the finish. If marks remain after a few careful attempts, a professional shoe repair shop can assess whether the leather or suede can be restored.